
Install Airflow on Windows with WSL
Hi, I am coder2j.
In this airflow tutorial, I will walk you through the steps to install Apache Airflow on Windows with WSL.
Let’s dive right in!
At the time of writing this post, the latest version of Apache Airflow is 2.6.3. On Windows, you can follow these steps:
Prerequisites #
Before you begin, make sure you have the following prerequisites:
- Windows 10 or later: WSL is only available on Windows 10 and later versions.
- Windows Subsystem for Linux (WSL): Ensure that you have WSL enabled on your Windows machine. If not, you can enable it by following Microsoft’s official documentation.
- A Linux Distribution: You’ll need a Linux distribution installed via WSL. Ubuntu is a popular choice and will be used in this guide.
- Python 3.7 or later: Make sure you have Python installed on your system. Airflow is compatible with Python 3.7 and above.
Step 1: Install WSL and a Linux Distribution #
- Open PowerShell as an administrator and run the following command to enable WSL:
dism.exe /online /enable-feature /featurename:Microsoft-Windows-Subsystem-Linux /all /norestart

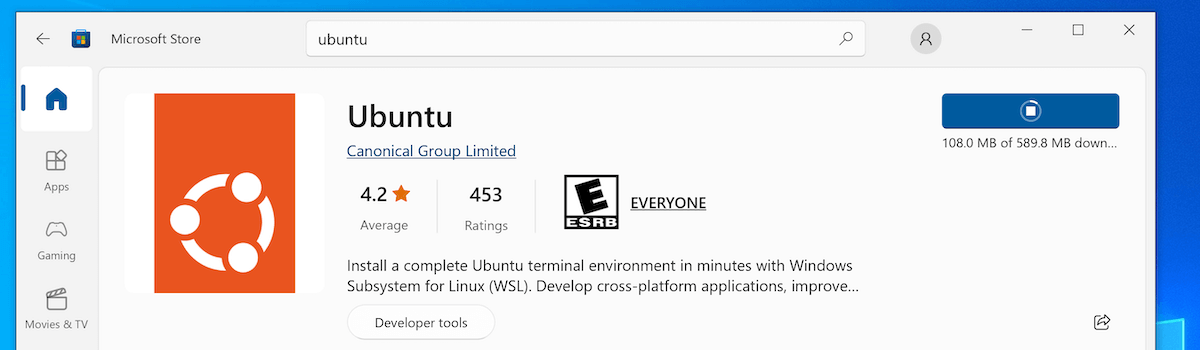
- Visit the Microsoft Store and search for a Linux distribution (e.g., Ubuntu). Click “Install” to download and set up the distribution.
- Once installed, launch the Linux distribution. You’ll be prompted to create a user and set a password. Follow the on-screen instructions to complete the setup.

If you hit the error of Error: 0x8007019e The Windows Subsystem for Linux has not been enabled. when launching the Ubuntu app, you need to reboot and it should solve.
Step 2: Install and Run Apache Airflow in WSL #
- Open your Linux distribution within WSL and create an Airflow project directory with the following command:
mkdir -p apps/airflow-local
cd apps/airflow-local/
- Make sure to have Python 3.7 or later installed and your Python virtual environment set up and activated.

- Set the AIRFLOW_HOME environment variable to the current project directory:
export AIRFLOW_HOME=~/apps/airflow-local
- Install Apache Airflow using pip, we have Python
3.10installed and want to install Airflow version2.6.1:
AIRFLOW_VERSION=2.6.1
PYTHON_VERSION=3.10
CONSTRAINT_URL="https://raw.githubusercontent.com/apache/airflow/constraints-${AIRFLOW_VERSION}/constraints-${PYTHON_VERSION}.txt"
pip install "apache-airflow==${AIRFLOW_VERSION}" --constraint "${CONSTRAINT_URL}"
- After the installation is complete, run the airflow standalone command to initialize the database, create a user, and start all components:
airflow standalone
Your login username is admin and the password can be found in the standalone_admin_password.txt file in the project directory.

- You can now log in and access the Airflow web interface by opening a web browser and navigating to
http://localhost:8080/.
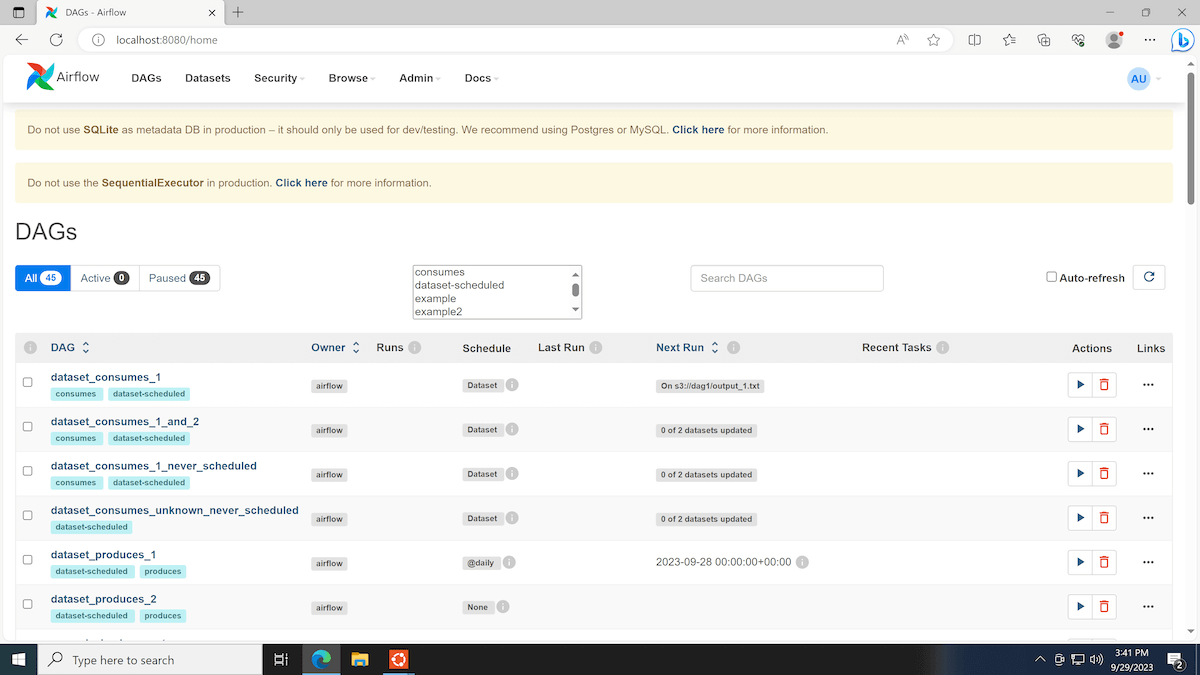
That’s it! You should have successfully installed Apache Airflow on Windows with WSL.
Now, it’s your turn. Do I cover everything you need to get Airflow running?
Let me know if you face any issues or any suggestions in the comment below.
Related Posts

Comments: